1. Open Inkscape and set up your canvas under File → Document Properties.
Im going with a canvas of 800x800px.
Make sure 'Border on top of drawing' is ticked.
2. Call up the Star Tool and change the number of corners to 3.
Im going with a canvas of 800x800px.
Make sure 'Border on top of drawing' is ticked.
2. Call up the Star Tool and change the number of corners to 3.
My triangle has a height of 60px.
4. Align the triangle with the 'Align & Distribute Dialogue', so that the right tip is lined up with the left side of the canvas and at the same height with the top.
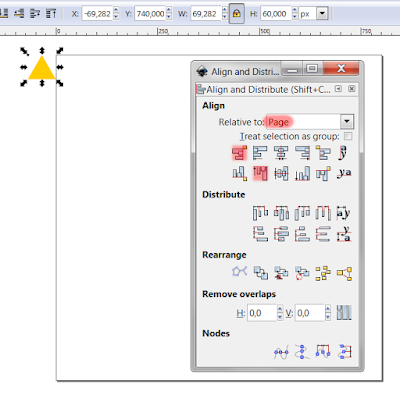
5. Convert the triangle into a path (CTRL + Shift + C). Because we used the star and not the polygon, our triangle has 6 nodes. This is important when we later edit the shape to get rid of rendering gaps.
6. Next call up the Tiled Clones Dialogue (Edit → Clone → Create Tiled Clones) and set the Rows and Columns so that the width and height is covered with clones.
In my example thats 14.
Also make sure the Shift X per Row is set to 50%, as in the screenshot.
7. Delete the clone that is on top of our original triangle.
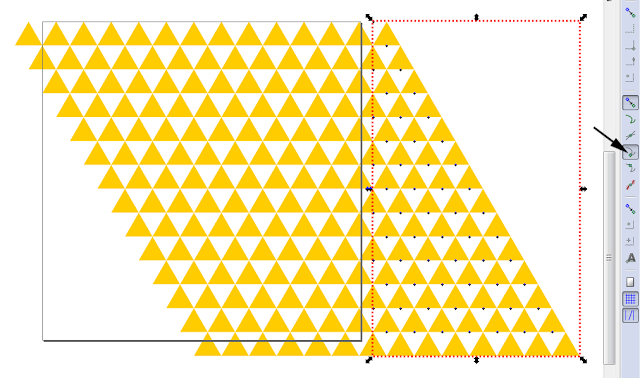
Now select all the triangles outside the right side of the canvas with a rubberband selection and make sure your snapping has 'snap to cusp nodes' enabled.
Move the selected objects to the left side and make your pattern into a full square with the help of snapping.
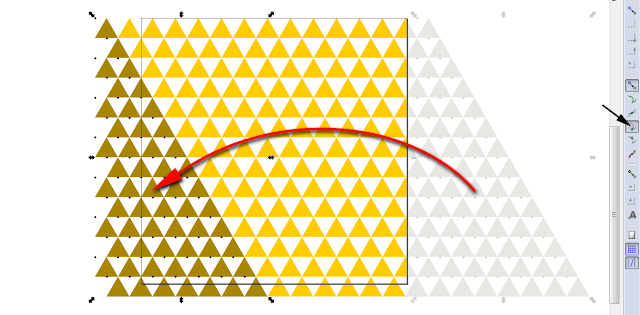
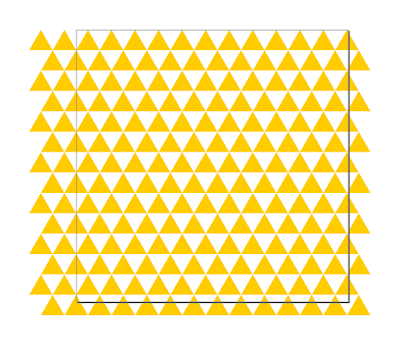
8. Next select all your triangles, duplicate, unlink the clones to convert into paths (Shift + Alt + D) and change the color to something different (i used red).
Group them for a moment, flip horizontally and ungroup again.
This should fill in the triangular gaps.
Group them for a moment, flip horizontally and ungroup again.
This should fill in the triangular gaps.
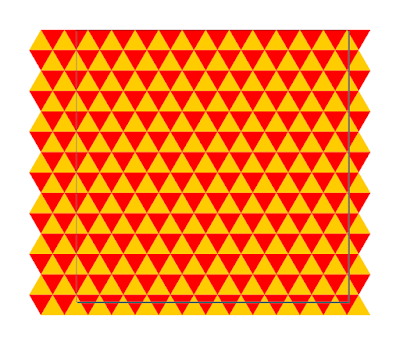
If we leave our triangles the way they are now, we would get rendering gaps after the export. Like this:
There is a simple fix thanks to the power of clones.
What we want is an overlap so that there are no gaps between objects.
Select any of your yellow triangles and if its a clone (check the Status bar), press Shift + D.
That will select the original path.
With the Node Tool, move each node that divides the lines of the triangle in half, a bit outwards.
All clones will follow and all the gaps will be closed.
Select any of your yellow triangles and if its a clone (check the Status bar), press Shift + D.
That will select the original path.
With the Node Tool, move each node that divides the lines of the triangle in half, a bit outwards.
All clones will follow and all the gaps will be closed.
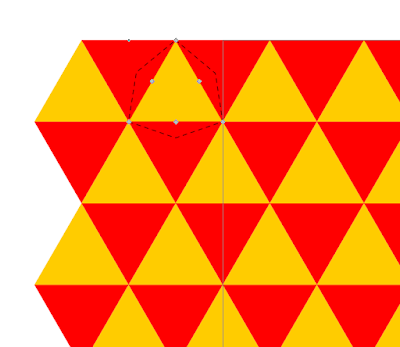
EDIT: an alternative, perhaps even easier method: just perform an outset to your triangle. Simple and elegant solution !
10. To finalize the pattern, select all triangles, unlink the remaining clones and give everything the same colour.
Go to Extensions → Color → Randomize…
Depending on the settings, you will get results like this:
11. Finally export your image, save the project and close Inkscape.
12. Open your image in Gimp, and call up G'MIC.
Set the 'Output Mode' to 'New Layer', and the 'Output Message' to 'Verbose (layer name)'.
That way your original image will stay the same and you can always reproduce the results, because G'MIC displays all the value settings in the layername.
Try filters like Dream Smoothing, Colored Pencils, Graphic Novel or Graphic Boost and get results like this:
 |
| Colored Pencils |
 |
| Dream Smoothing |
 |
| Graphic Boost |
 |
| Graphic Novel |
 |
| Vintage Style |
 |
| Cartesian Transform Desaturated and Colorized |


No comments:
Post a Comment